
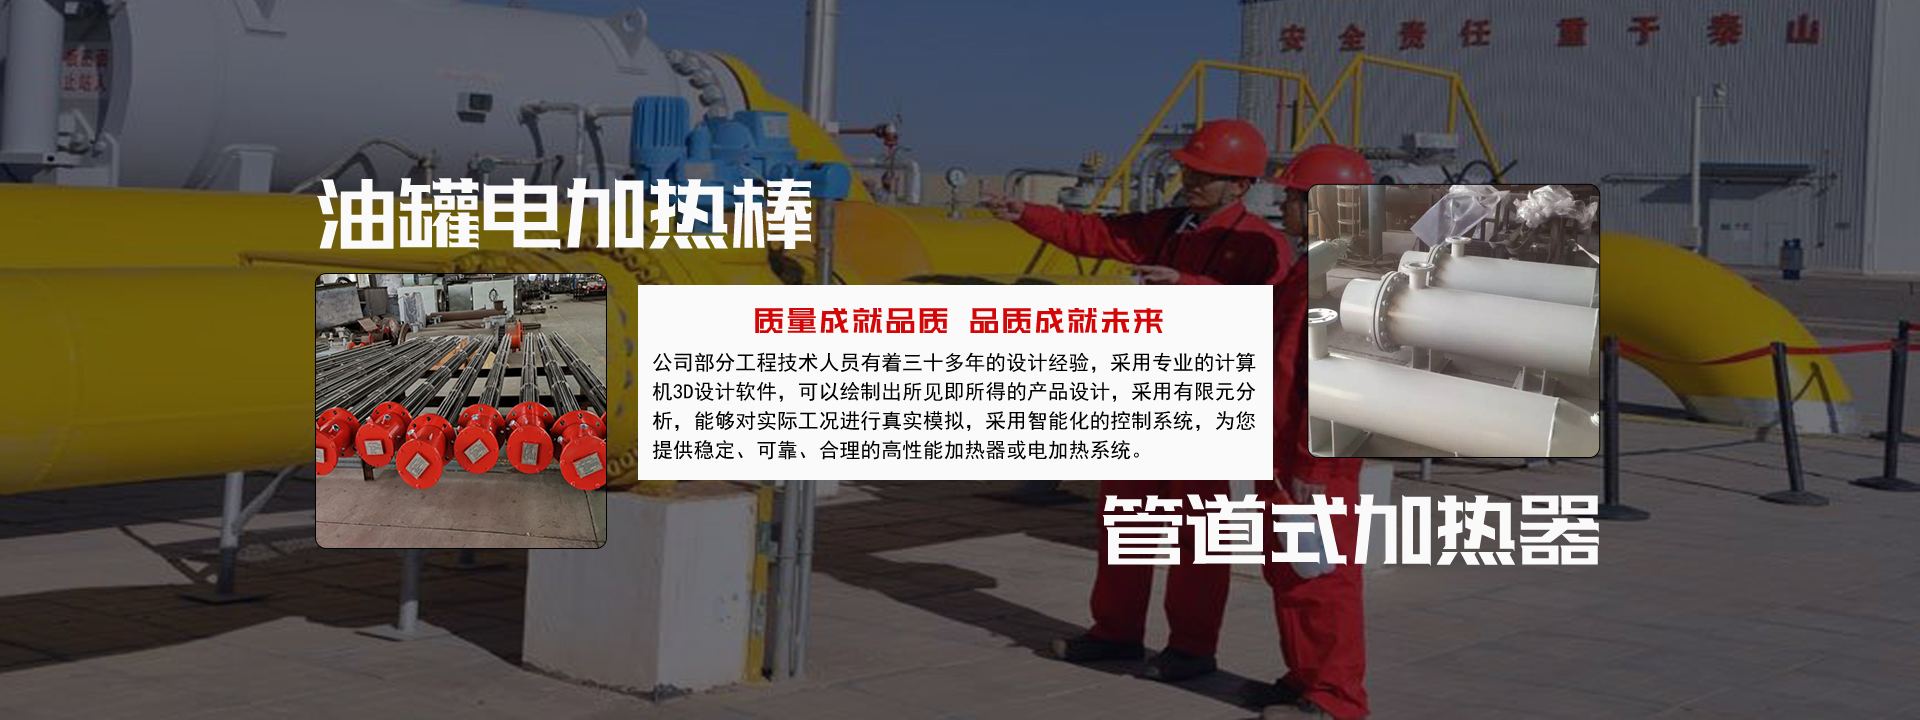
1. The threaded oil heater SRY2-1 is manufactured by imitating German products. The electric heater consists of a heating core and a protective tube. The heating core uses a tubular electric heating element as the heat source, and the protective tube is made of thin stainless steel tube. The wiring device is protected by a bolted shell seal, which is waterproof, moisture-proof, and oil-proof.
2. The protective tube is connected to the oil tank body with a straight thread connection, providing strong sealing. The protective tube isolates the core from the heated oil. When replacing the electric heater, there is no need to drain the oil in the tank; only the heater core needs to be pulled out, making maintenance convenient.
3. The surface power of this model of electric heater is designed according to the JBT2379-93 standard, and its surface power should be selected at ≤0.7W/cm2.
Main technical parameters:
Rated voltage: Single phase 220V
Power: 1KW 1.5KW
Working pressure: 0.8Mpa
Connection dimensions: SRY2-1 220V/1KW, G2"
SRY2-2 220V/1.5KW, G2.5"
Selection:
SRY2/SRY4 Immersion Oil Heater, SRY2-1/SRY2-2 Threaded Oil Heater, SRY2-3(HRY14) Immersion Electric Heater, SRY5(HRY10, HRY11, HRY12, HRY13) Top Angle Oil Heater, SRY6-1,2,3(HRY1, HRY2, HRY3) Sheathed Heater, SRY6-8 Sheathed Heater, SRY6-9 Sheathed Heater, SRY7 Straight Rod Heater, SRY8(HRY8, HRY9) Finned Heater, SRY9 Electric Heater, SRY9-1 Thermal Oil Heater, SRY6 Sheathed Heater, SRQ Air Heater, SRXY, SRJ Solution and Alkali Solution Heater, SRS Water Heater, SRM Mold Heater, SRW Far Infrared Heater, SRK3 Channel Heater, LGRQ1 Biphenyl Heater, LGRQ2 Biphenyl Heater, LGRQ3 Biphenyl Heater, LGRQ4 Biphenyl Heater, GHK Series Hot Air Heater, SRY6F Wind Power Gearbox Electric Heater, GHY6F Wind Power Gearbox Electric Heater, BR Explosion-proof Heater, BRY2 Explosion-proof Electric Heater, BRY8 Explosion-proof Electric Heater, BRY15 Explosion-proof Electric Heater, Pipeline Electric Heater (Inline Heater Series).
Operating procedure
1. Place the yoke on the end face of the main unit.
2. Insert the plug into a power socket with a control switch.
3. Check if the ground wire is good, and test with a test pen after powering on.
4. Press the start button, the main unit is powered on.
5. Check that the yoke has no voltage to ground.
6. Press the stop button to cut off the power and stop heating.
7. Select different yokes according to different specifications of bearings or other workpieces, put the yoke on the top end face of the main unit, and ensure it fits smoothly.
8. When heating, insert the sensor into the "sensor socket" and keep the sensor close to the workpiece being heated.
9. When the bearing is heated to the required temperature, the power will be automatically cut off or press the stop switch.
10. After stopping heating, move the yoke left or right, remove the bearing, and then place the yoke back on the top of the main unit.
11. If using repeatedly to heat bearings continuously, simply put the bearing to be processed onto the yoke again.